| 일 | 월 | 화 | 수 | 목 | 금 | 토 |
|---|---|---|---|---|---|---|
| 1 | 2 | 3 | ||||
| 4 | 5 | 6 | 7 | 8 | 9 | 10 |
| 11 | 12 | 13 | 14 | 15 | 16 | 17 |
| 18 | 19 | 20 | 21 | 22 | 23 | 24 |
| 25 | 26 | 27 | 28 | 29 | 30 | 31 |
- 관리자 메일발송
- 셀프인테리어
- 목공
- 구글 소셜로그인
- 스크린 녹화
- aruco
- High DPI
- 코스톰 윈도우
- 오피스 KMS 인증
- 그누보드
- 투명윈도우
- 영상처리
- KMS 인증
- mailer
- 소셜로그인 연동해제
- 코너 라운드 윈도우
- 윈도우 단축키
- qt 스타일시트
- Qt 캡쳐
- Qt 관리자 권한
- 투명 윈도우
- 화면 녹화
- QT
- Qt 버그
- 콘솔만들기
- 투명창
- opencv web
- OpenCV
- High DPI 적용
- opencv.js
- Today
- Total
IT 알쓸신잡
Qt 위젯 스타일시트 적용하기 본문
저번 포스팅 중 Custom 윈도우에 대한 내용을 다룰 때 스타일시트를 간단하게 언급했는데요.
2023.02.28 - [Development] - Qt Custom 윈도우 만들기
Qt Custom 윈도우 만들기
투명 윈도우에 이어 Custom 윈도우를 만들어 보도록 하겠습니다. 1. Designer 에서 QLabel 생성 QLabel 을 드래그 & 드랍으로 옮겨오면 생성이 되며, 사이즈를 마우스로 조정합니다. 버튼보다 아래에 형성
swmaster.tistory.com
이번에는 어떻게 사용하는지 상세히 다뤄보도록 하겠습니다.
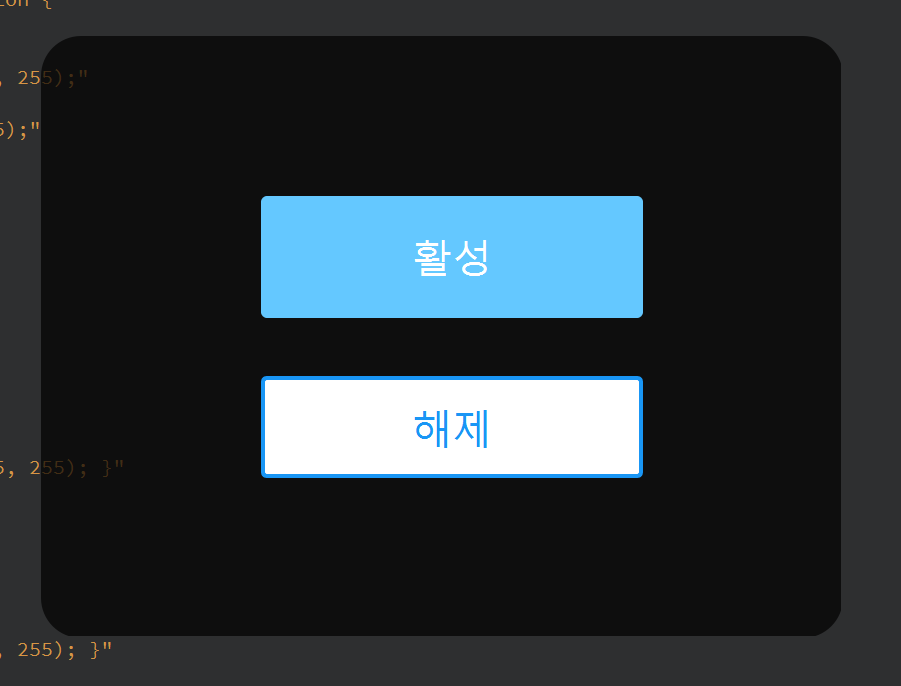
아래 빌드 결과 화면은 Custom 윈도우에 버튼 2개를 추가하고 버튼에 스타일 시트를 적용한 겁니다.

적용방법은 스타일시트 String을 작성하여 setStyleSheet 함수를 사용하여 적용할 수 있습니다.
    QString strBtnStyleSheet = QString("QPushButton {"
            "font: %1pt \"%2\";"
            "color: rgba(25, 150, 245, 255);"
            "background-color:rgba(255, 255, 255, 255);"
            "border-width: 2px;"
            "border-color: rgba(25, 150, 245, 255);"
            "border-style: solid;"
            "border-radius: 3;"
            "}"

            "QPushButton:hover {"
            "color: rgba(255, 255, 255, 255);"
            "border-style: solid;"
            "border-width: 0px;"
            "border-color: red;"
            "background-color: rgba(100, 200, 255, 255); }"

            "QPushButton:pressed {"
            "color: rgba(255, 255, 255, 255);"
            "border-style: solid;"
            "border-width: 0px;"
            "border-color: #339;"
            "background-color: rgba(25, 150, 245, 255); }"

            "QPushButton:checked {"
            "color: rgba(255, 255, 255, 255);"
            "background-color: rgba(25, 150, 245, 255);"
            "border-width: 0px;"
            "border-color: red;"
            "border-style: solid;"
            "}"

            "QPushButton:disabled {"
              "color:rgba(170,170,170,255);"
              "border-style: solid;"
              "border-width: 2px;"
              "border-color: rgba(170,170,170,255);"
              "background-color:rgba(255,255,255,255);"
              "}"
            ).arg(20).arg(strFont);

    ui->pushButton->setStyleSheet(strBtnStyleSheet);
    ui->pushButton_2->setStyleSheet(strBtnStyleSheet);
QString에 구성된 QPushButton 스타일 시트를 간단하게 설명드리면,
| QPushButton { ... } ☞ 기본 버튼 스타일 QPushButton:hover { ... } ☞ 버튼 마우스 오버됬을 때 스타일 QPushButton:pressed { ... } ☞ 버튼 눌러 졌을 때 스타일 QPushButton:checked { ... } ☞ 버튼 누른 후 Release 됬을 때 스타일 QPushButton:disabled { ... } ☞ 버튼 비활성화 됬을 때 스타일 |
QPushButton 각 상황에 따른 구분에서,
| color : 텍스트 컬러 설정 border-style : 테두리 스타일 설정 border-width : 테투리 두께 설정 border-color : 테투리 색상 설정 background-color : 배경색 생상 설정 border-radius : 코너 라운드 곡률 설정 |
방식이 javascrip css 와 거의 유사합니다^^
스타일시트를 잘 활용하면 웹에서 개발하듯이 각 위젯의 디자인을 손쉽게 설정할 수가 있습니다.
아래는 Qt 스타일 시트 공식 문서이며, 보다 자세하게 설명되어 있으니 참고하시기 바랍니다.
Qt Style Sheets Reference | Qt Widgets 5.15.12
Qt Style Sheets Reference | Qt Widgets 5.15.12
doc.qt.io
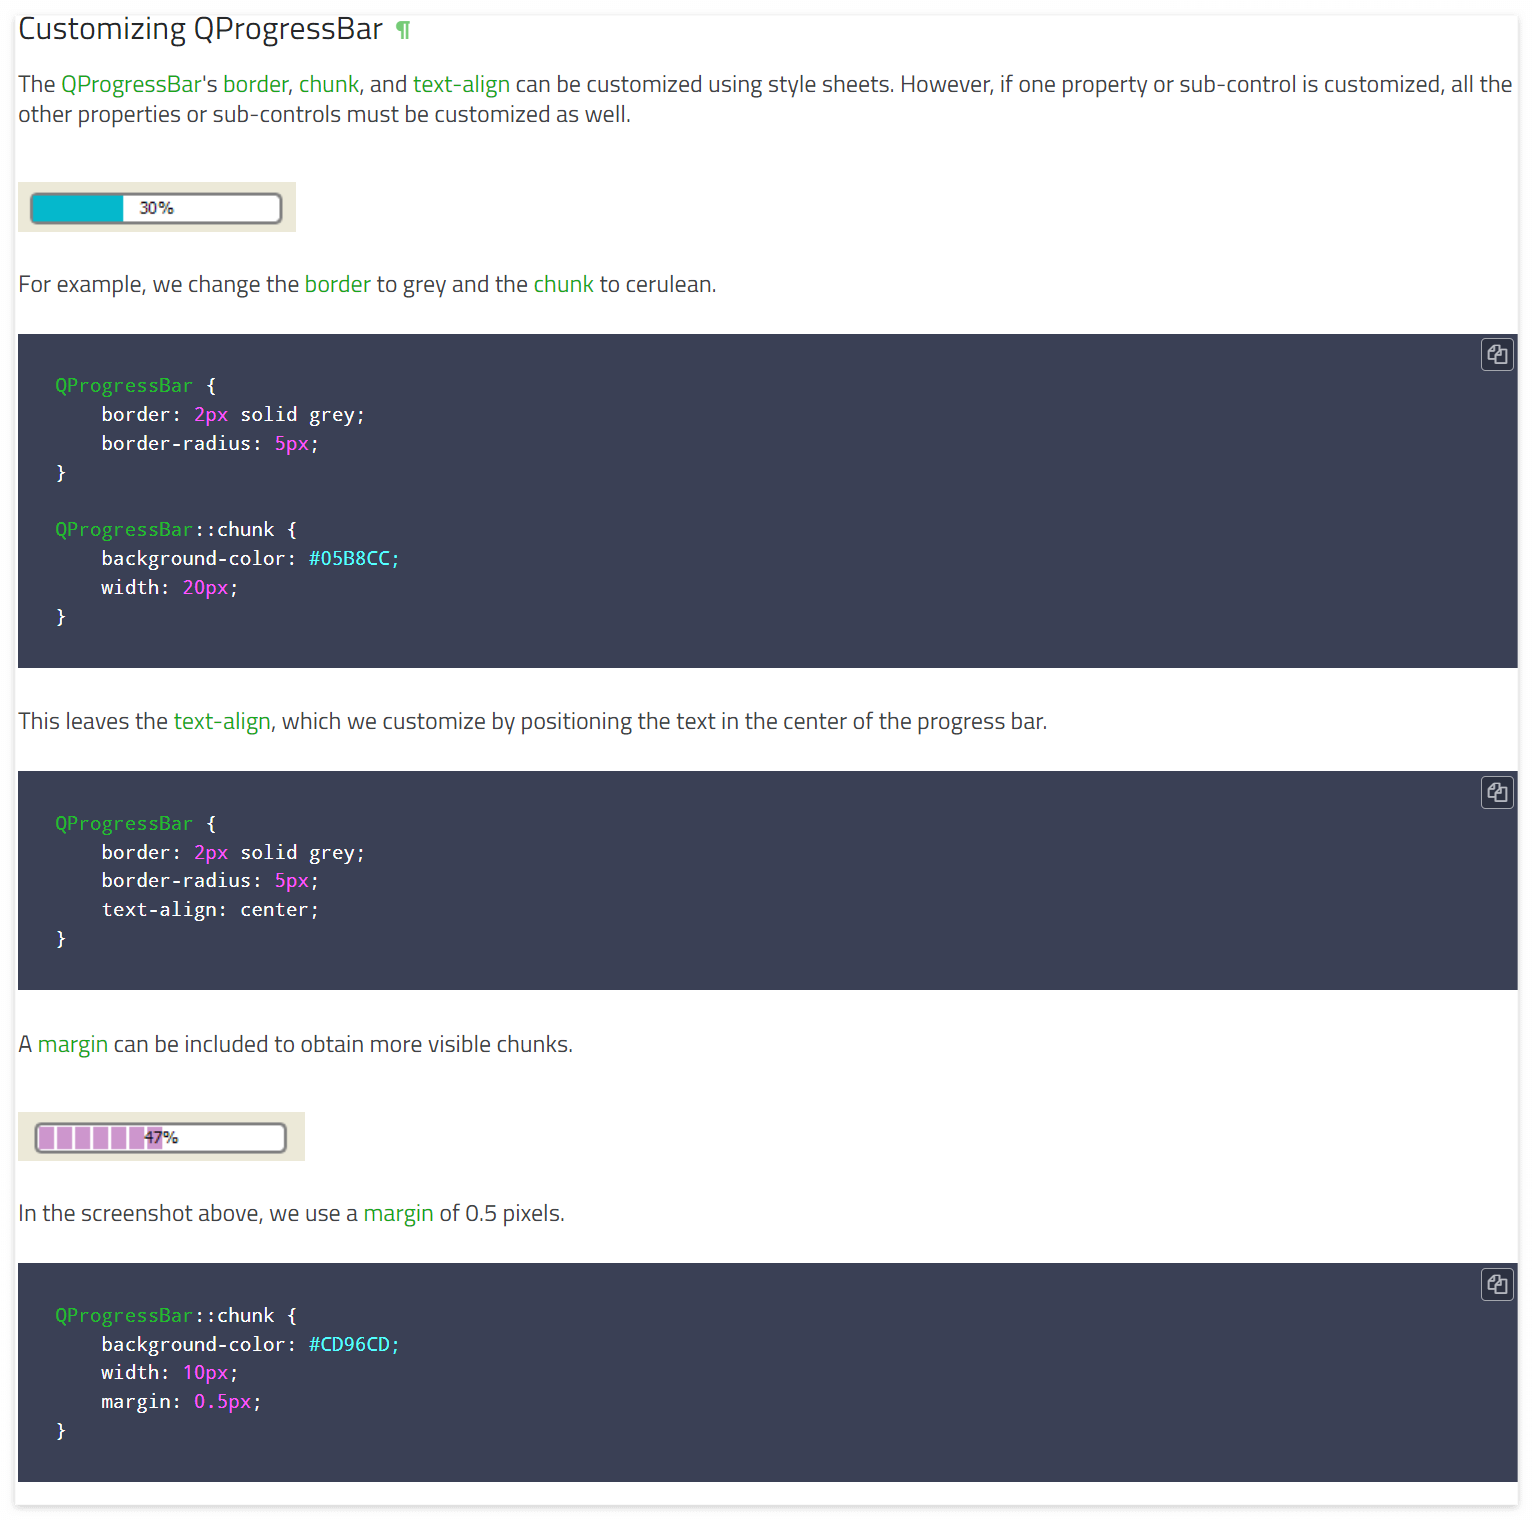
아래는 공식 문서에서 QProgressBar 관련 샘플인데, 이렇게도 되는구나 참고하시면 됩니다.

'Development' 카테고리의 다른 글
| Qt 에서 관리자 권한으로 실행되는 실행파일 만들기 (0) | 2023.03.08 |
|---|---|
| Qt 에서 High DPI 적용 (0) | 2023.03.07 |
| Qt Custom 윈도우 만들기 (0) | 2023.02.28 |
| Qt 투명 윈도우 만들기 (0) | 2023.02.28 |
| Qt 화면 녹화 & 캡쳐 방지 (0) | 2023.02.22 |


